
Rubber grommets are said to be the invention of the century. Even though we usually forget that these small units exist, they are actually a big part of our lives. They are used in pretty much every industry, and they can help in improving different parts and devices. They are most commonly used in the automotive industry, but they are also applied in medicine, laboratories, as well as homes and house items.
With the rubber grommets, you can seal pretty much any bottle or container, they can protect your walls, furniture, and they can improve the condition of cars, household items, and different large devices. If you already know about them, you are probably aware that these products are actually really durable. However, after some time, they are bound to lose their shape, and they can get damaged or broken. If you want to replace them, you’ve come to the right place. In this article, we are going to tell you how to replace the rubber grommets in just a few easy steps.
1. Make sure you’ve chosen the right products
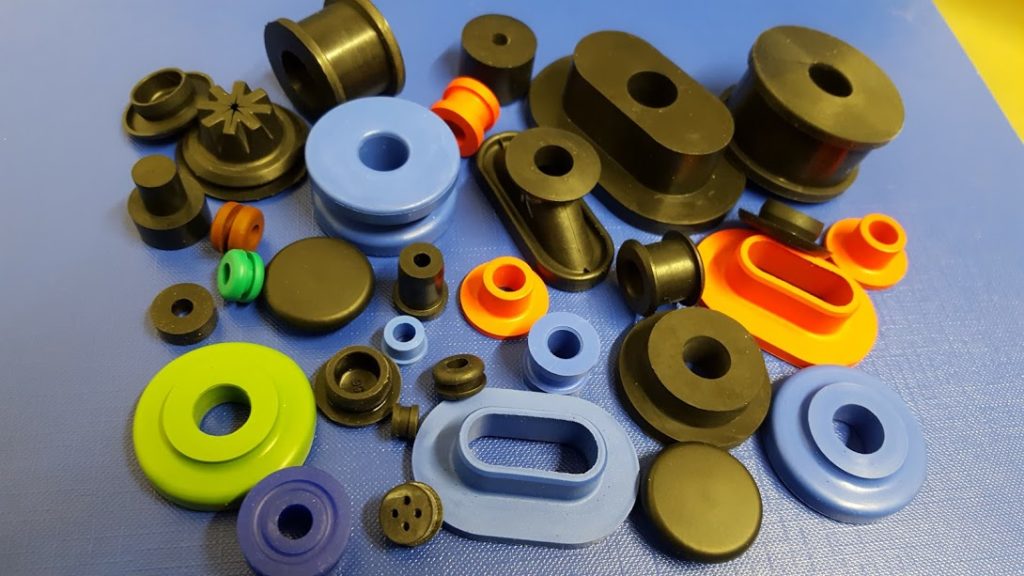
The first thing you need to do is find the right units for the task at hand. Nowadays, there are so many different types of grommets, and you need to choose the right ones for you. They are usually made of silicone or elastic-plastic, but you can find them made of other materials as well. They vary in shape, size, and purpose.
If you are not sure which ones are the right ones you need, then the best thing you can do is check the ones that need replacement, and get the exact same make and model. Note that you can also talk to the seller, and ask for their recommendation. If you want to make sure that you are getting the correct type, then you can first safely remove the old units, and bring them with you to the store.
2. Inspect the device and remove the old units
The next thing you need to do is inspect the device you should take the grommets out of, and remove them. Note that you need to check if everything is working properly, and see if they actually need replacement.
If you ensure that they need to be changed, then you have several options for removal. In most cases, you can remove them by hand, or use pliers to safely take them out. In case they are stuck, you should never use excessive force because you may damage the exterior of the items they’ve been installed in. Note that in some cases, they will be stuck, and you may need to cut them. Be extremely careful, use the right type of scissors, or other cutting devices, and take your time. If you cannot remove them on your second try, you should know that you can always contact the professional and get them safely removed.
3. Get the right equipment
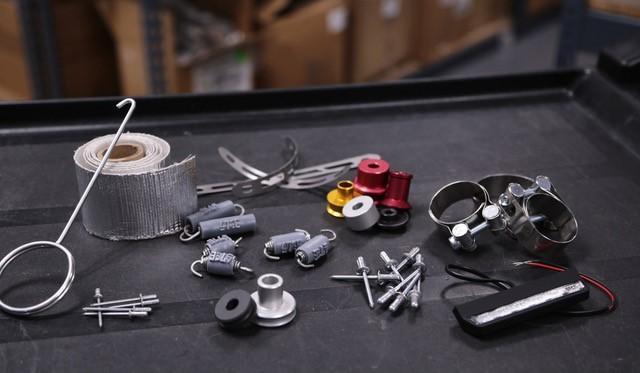
The next thing you are going to use for this project is the right types of tools to install your new units. Depending on the project you have at hand, the size of the device, and the complexity of this task, you may need just your hands, or you may need a lot of other items.
According to rubber-grommet.com, these items are usually really simple to install, and you can even get an installing kit that you can use for every task you have. You can find the kit in pretty much every store you purchase the small products in, and you should try to get something that is durable and high-quality. The cheapest kits on the market may do the job once, but it is better to invest in something that is going to last for a long time.
Other items that you may need include a hammer, or a mallet, and a drill. Note that the equipment depends on the task at hand, as well as the material in which you want to install the grommets.
4. Follow the instructions
After you acquire the right tools for the job, you only need to follow the instructions to install them. You can easily find a lot of tutorials online depending on what you need to replace and where. Usually, there are just a few things you need to remember – always mark the correct spot if you are installing them on fabric, don’t forget to measure, and never use too much force.
Help yourself with the tools you just acquired, and use the anvils properly. Connect the grommet with the anvil using a hammer, and always protect your hands and fingers. If you need to install them in harder materials, then you may need to drill a hole first. Once again, always do the measuring before you start your project, and if there are already holes from the previous units, you just need to take them out and install the new ones.
5. Check to see if all is installed properly
The last thing you need to do is check if everything is installed correctly and if it is working properly. Check to see if there are any fluids or air leaks, depending on the project, and if you are using a device, see if it is fixed. Note that in case something seems loose, most of the things can be fixed with a hammer.
Never tighten the units too much, and never apply excessive pressure. These units are usually elastic, but if you stretch or bend them too much, they can break or get damaged. If needed, talk to the seller about the exact type of project you are tacking, and ask them for their expert advice. They can help you out with the installation process, and recommend different tools or grommets if needed.
These are the five steps you need to follow to replace these small elastic units. Take your time, especially if it is your first time changing them, and know that with patience, everything will get done correctly. Watch the needed tutorials, and if you can’t seem to change them on your own, you can always contact a professional service, and ask for their help. This is one of the easiest DIY projects, so you should not have too much trouble finishing it.


